Scheduler
Scheduler
The Scheduler is used to execute recurring or one-time tasks in optiCLOUD on a scheduled basis. This allows processes to run automatically in the background without having to be started manually each time.
Typical use cases include:
- Automatic generation of reports
- Regular export of telemetry data
- Time-controlled triggering of prepared Rulechains
A simple example is a daily CSV export: Instead of manually navigating to individual devices every day to start an export, the task can be scheduled once and then executed automatically.
Scheduler Overview
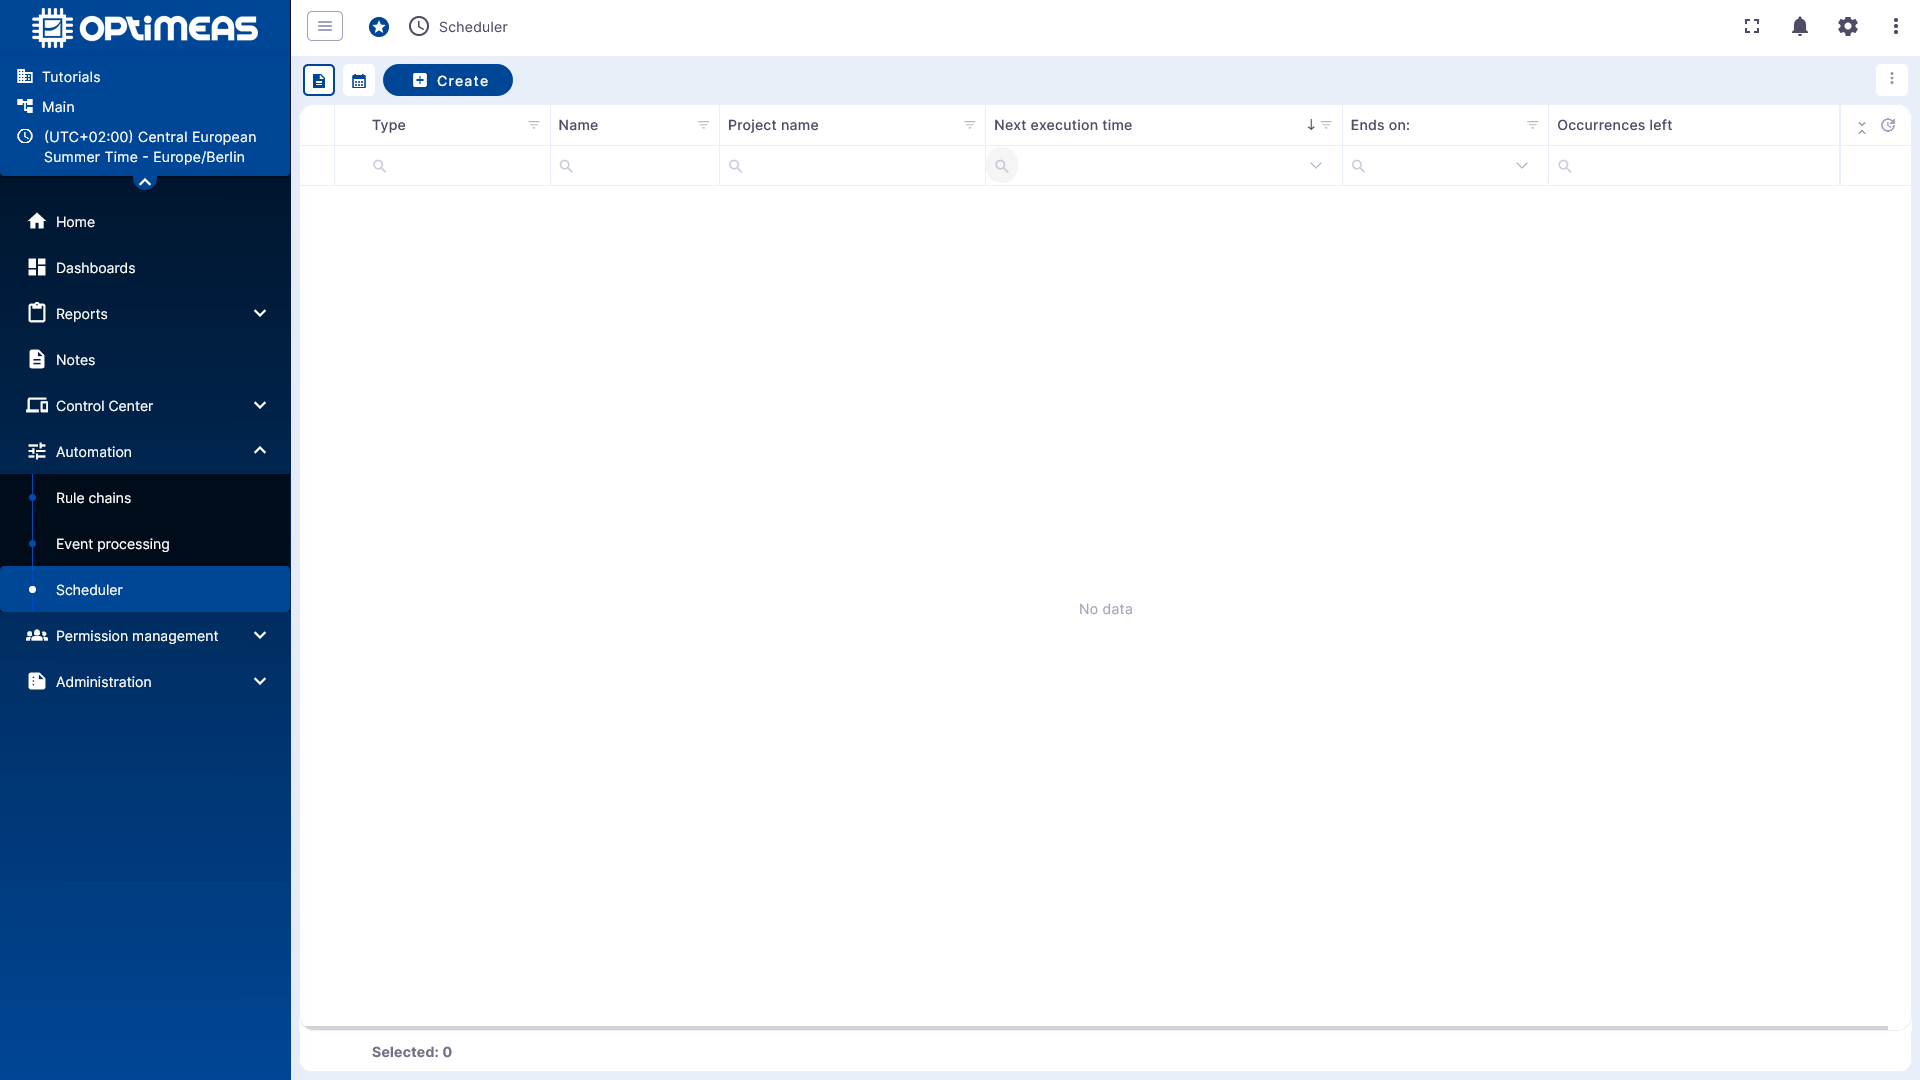
In the default view, all scheduled tasks are displayed in a table.
The table shows, among other things:
| Column | Meaning |
|---|---|
| Type | Type of scheduled task |
| Name | Name of the task |
| Project Name | Project in which the task was created |
| Next Execution Time | Next scheduled execution time |
| Ends | Time at which the task ends |
| Remaining Executions | Number of remaining executions |
In the top-left corner, you can switch between two views:
- Table view for management and editing
- Calendar view for scheduling planned executions
New tasks are created using Create.
Create a new task
The scheduler guides you through a multi-step wizard.
First, you enter a name. Then you specify the type of task to be scheduled.
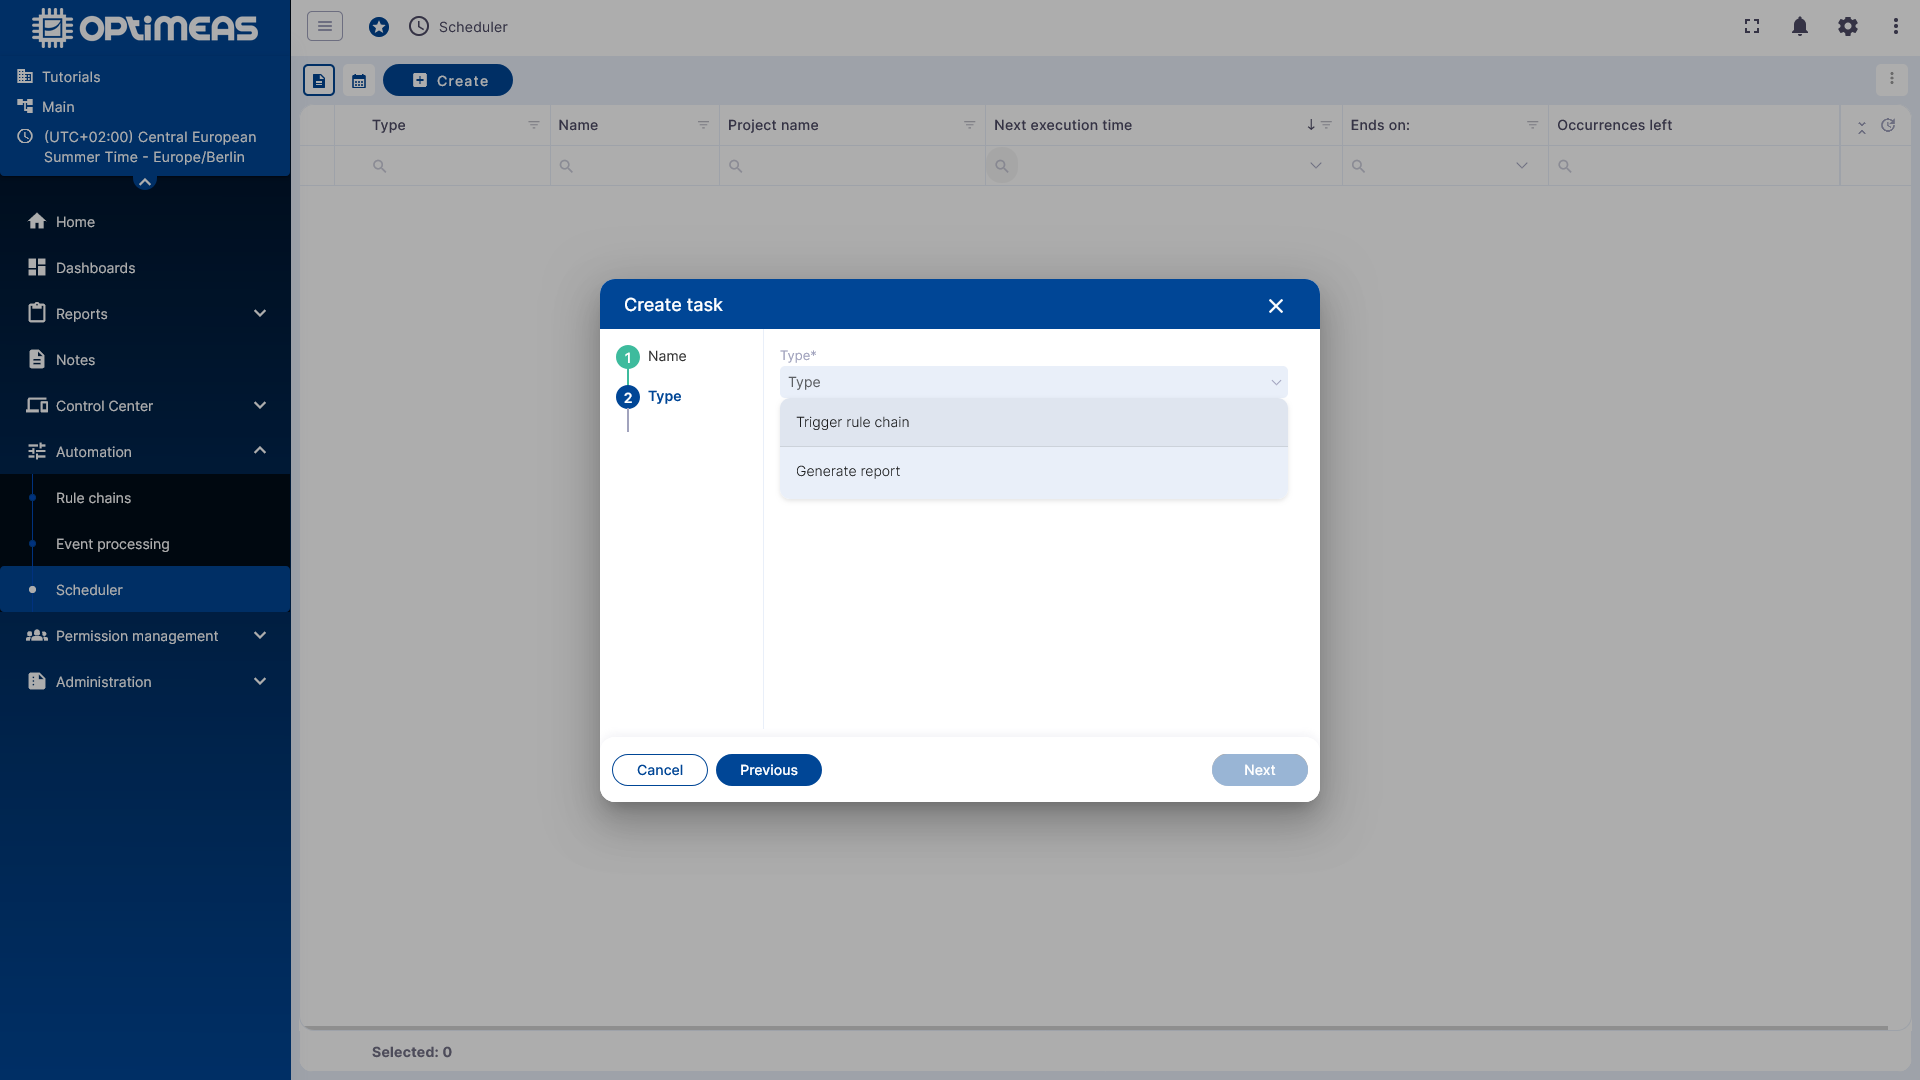
The following options are available:
- Execute RuleChain
- Generate Report
Task Types
Execute RuleChain
With Execute RuleChain, a RuleChain prepared for this purpose can be triggered at fixed times. This RuleChain must be designed for a time-controlled call and must not be based exclusively on incoming telemetry data.
The exact business logic is defined in the respective RuleChain. The scheduler only handles the time-controlled start.
An example of such a rule can be found under RuleChains.
Generate Report
With Generate Report, reports can be generated automatically. In the example shown, the Telemetry CSV report template is used.

This example is well-suited for explaining the general functions of the scheduler.
Example: Schedule a Telemetry CSV Report
Specify the time period
For a Telemetry CSV report, you first define which time window should be exported.
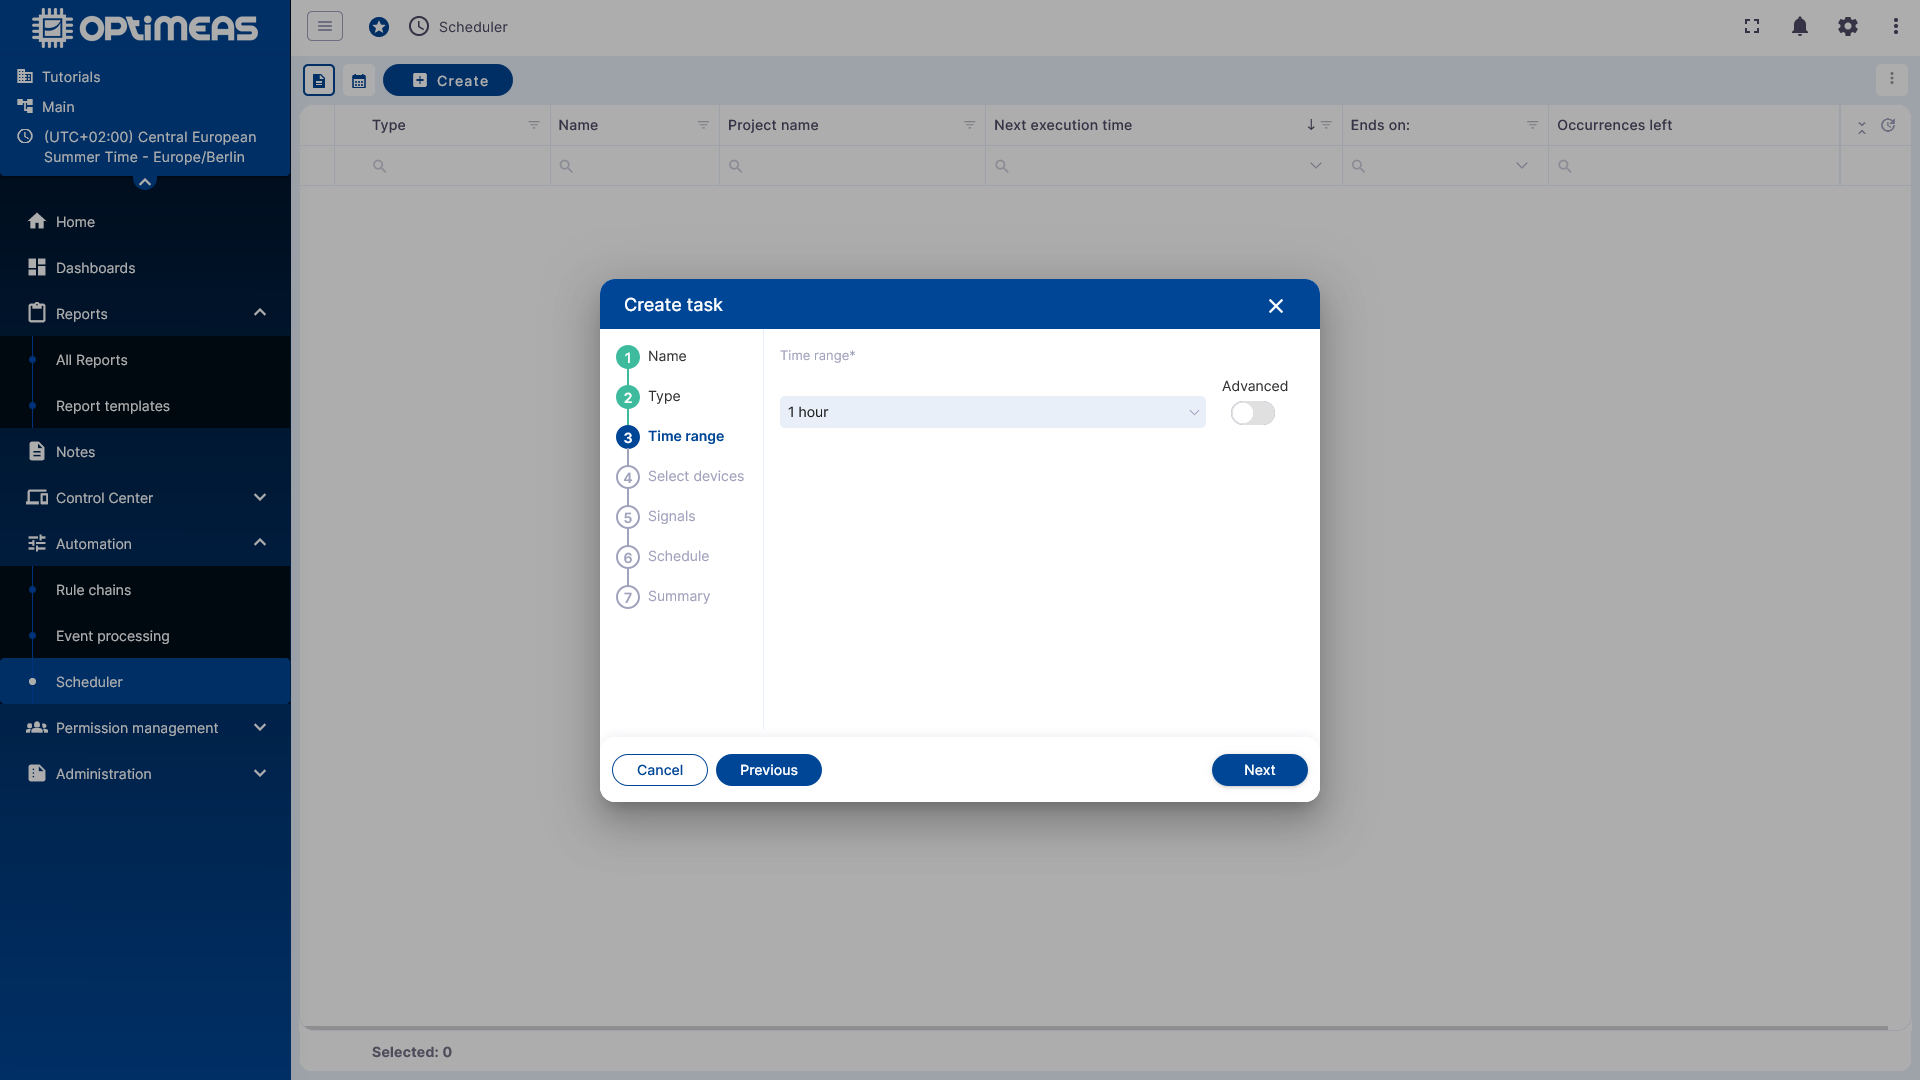
For example, if 1 hour is selected as the time window and the task is executed daily at 12:00 PM, then each generated report will contain data from 11:00 AM to 12:00 PM on the respective day.
Additionally, an Advanced button is available to configure the time period more precisely.
Select Devices
In the next step, you specify which devices the task applies to.
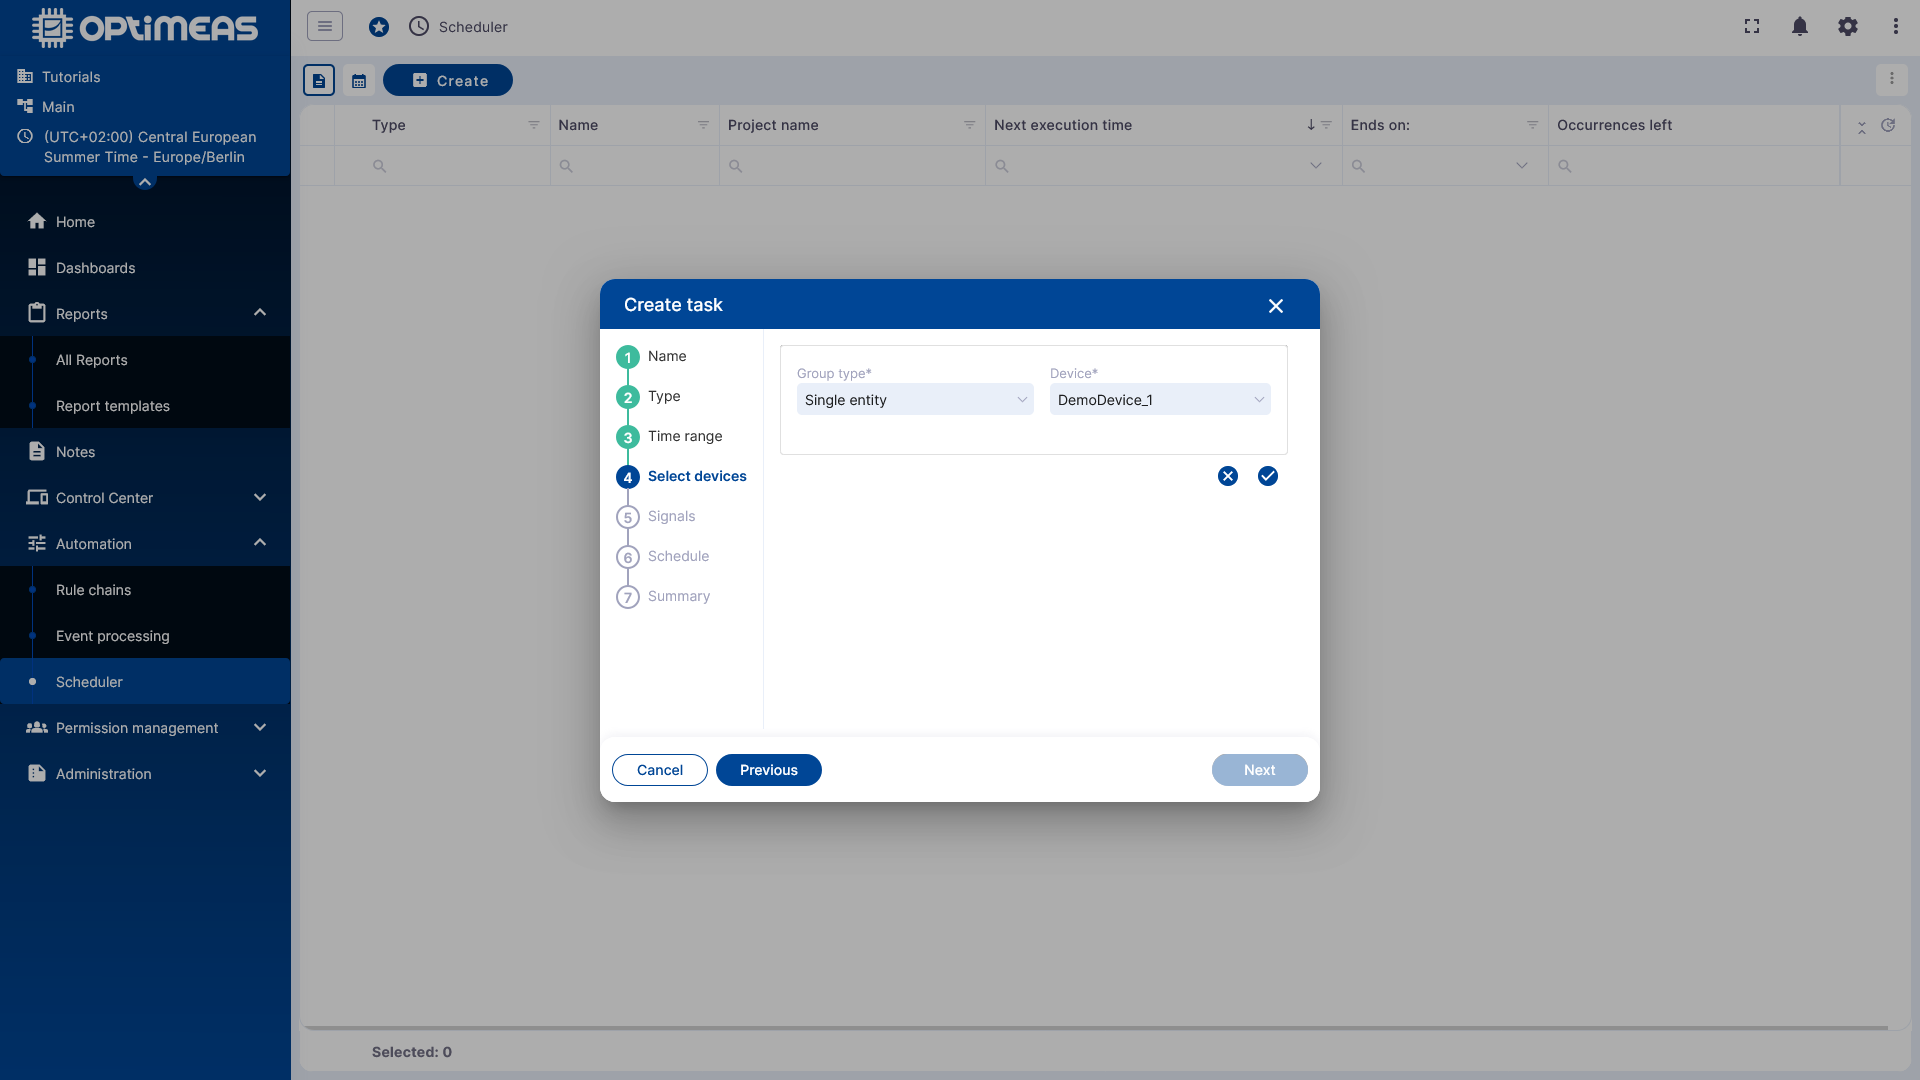
As in other areas of optiCLOUD, the selection can be made using various grouping types, for example:
- Single device
- Device list
- Device name
- Device type
- Current project
Select Telemetry Channels
Next, select the telemetry channels to be exported.
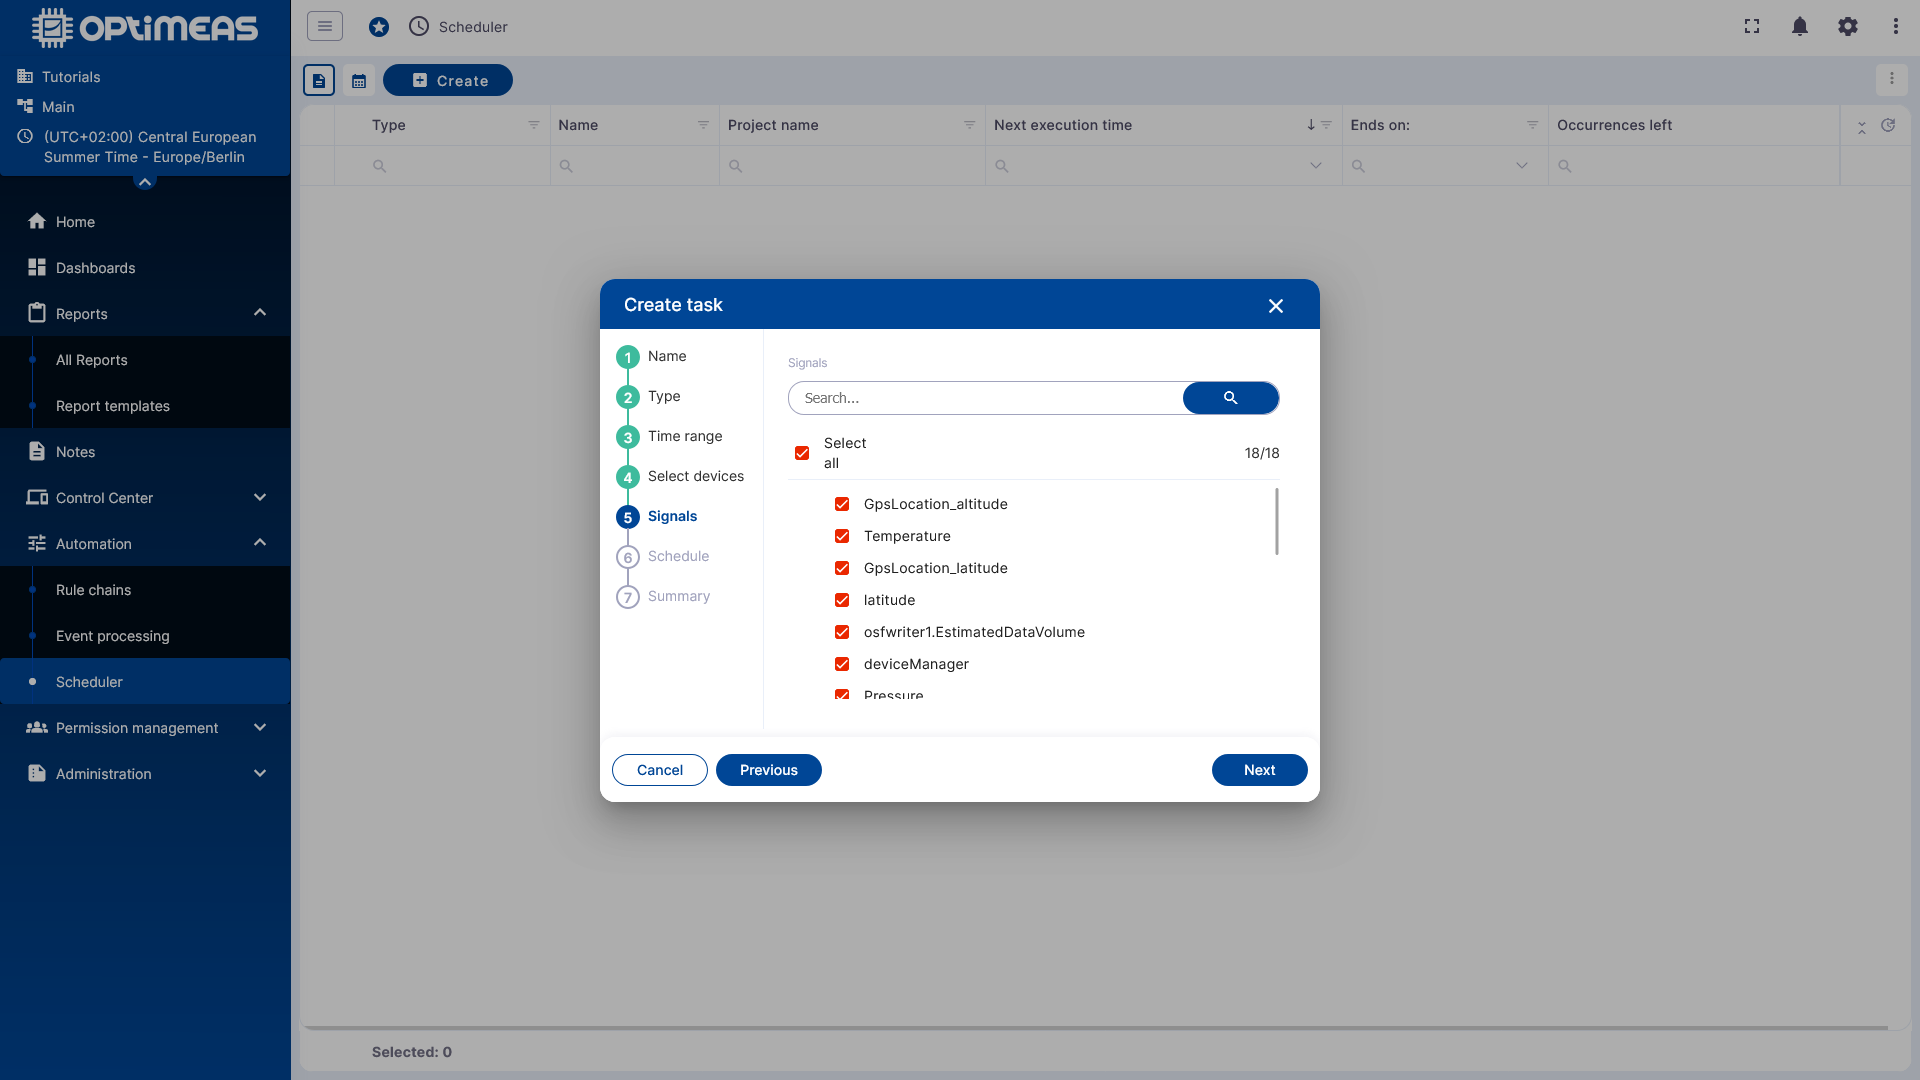
You can select individual telemetry channels or all available telemetry channels.
Configure schedule
In the Scheduling step, you specify when and how often the task is to be executed.
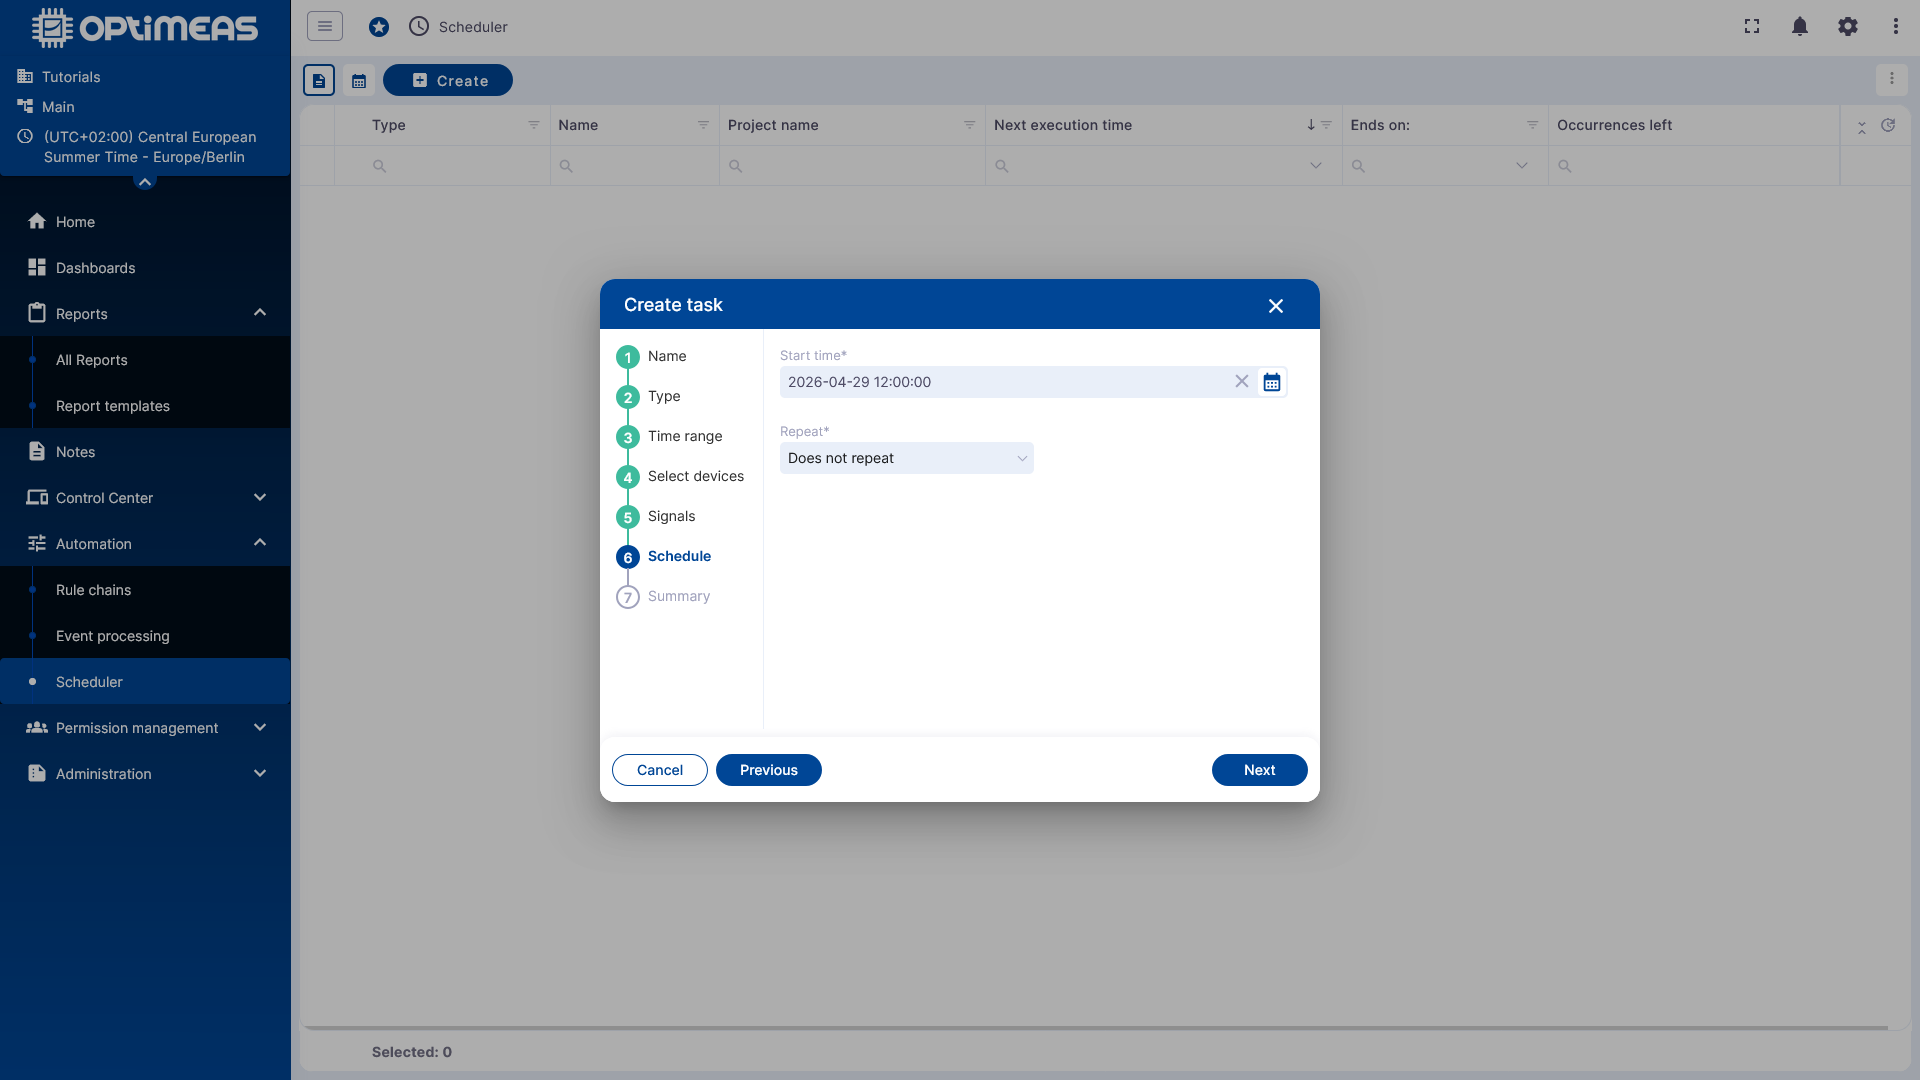
One-time execution
For one-time tasks, only a Start time is set, and Do not repeat is selected as the repetition type.
Repeated Execution
If a task is to run regularly, a simple repetition pattern can be defined via Repeat.
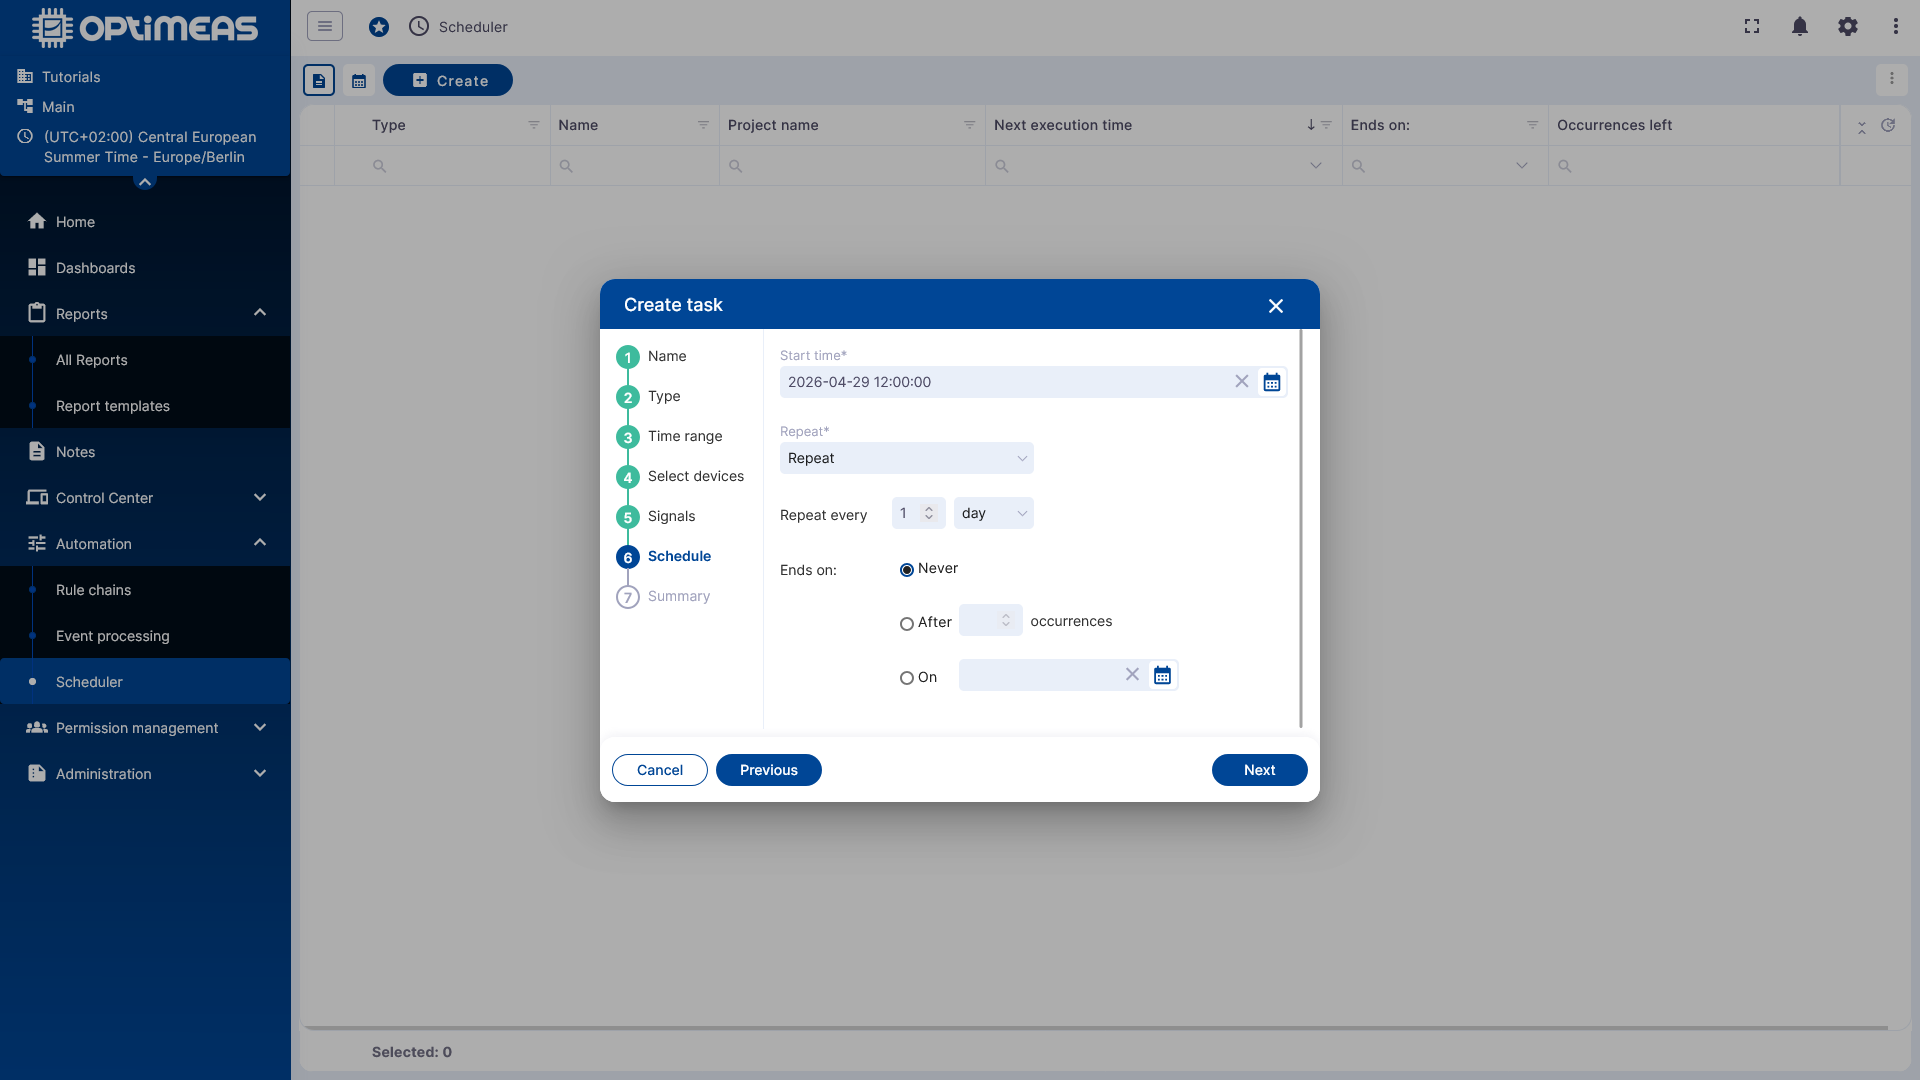
This determines:
- When the task starts
- At what interval it repeats, e.g., every hour or every day
- Whether it never ends, ends after a certain number of runs, or ends on a specific date
Advanced Cron Definition
For more complex schedules, an Advanced (Cron) definition can be used instead of the simple repeat pattern.
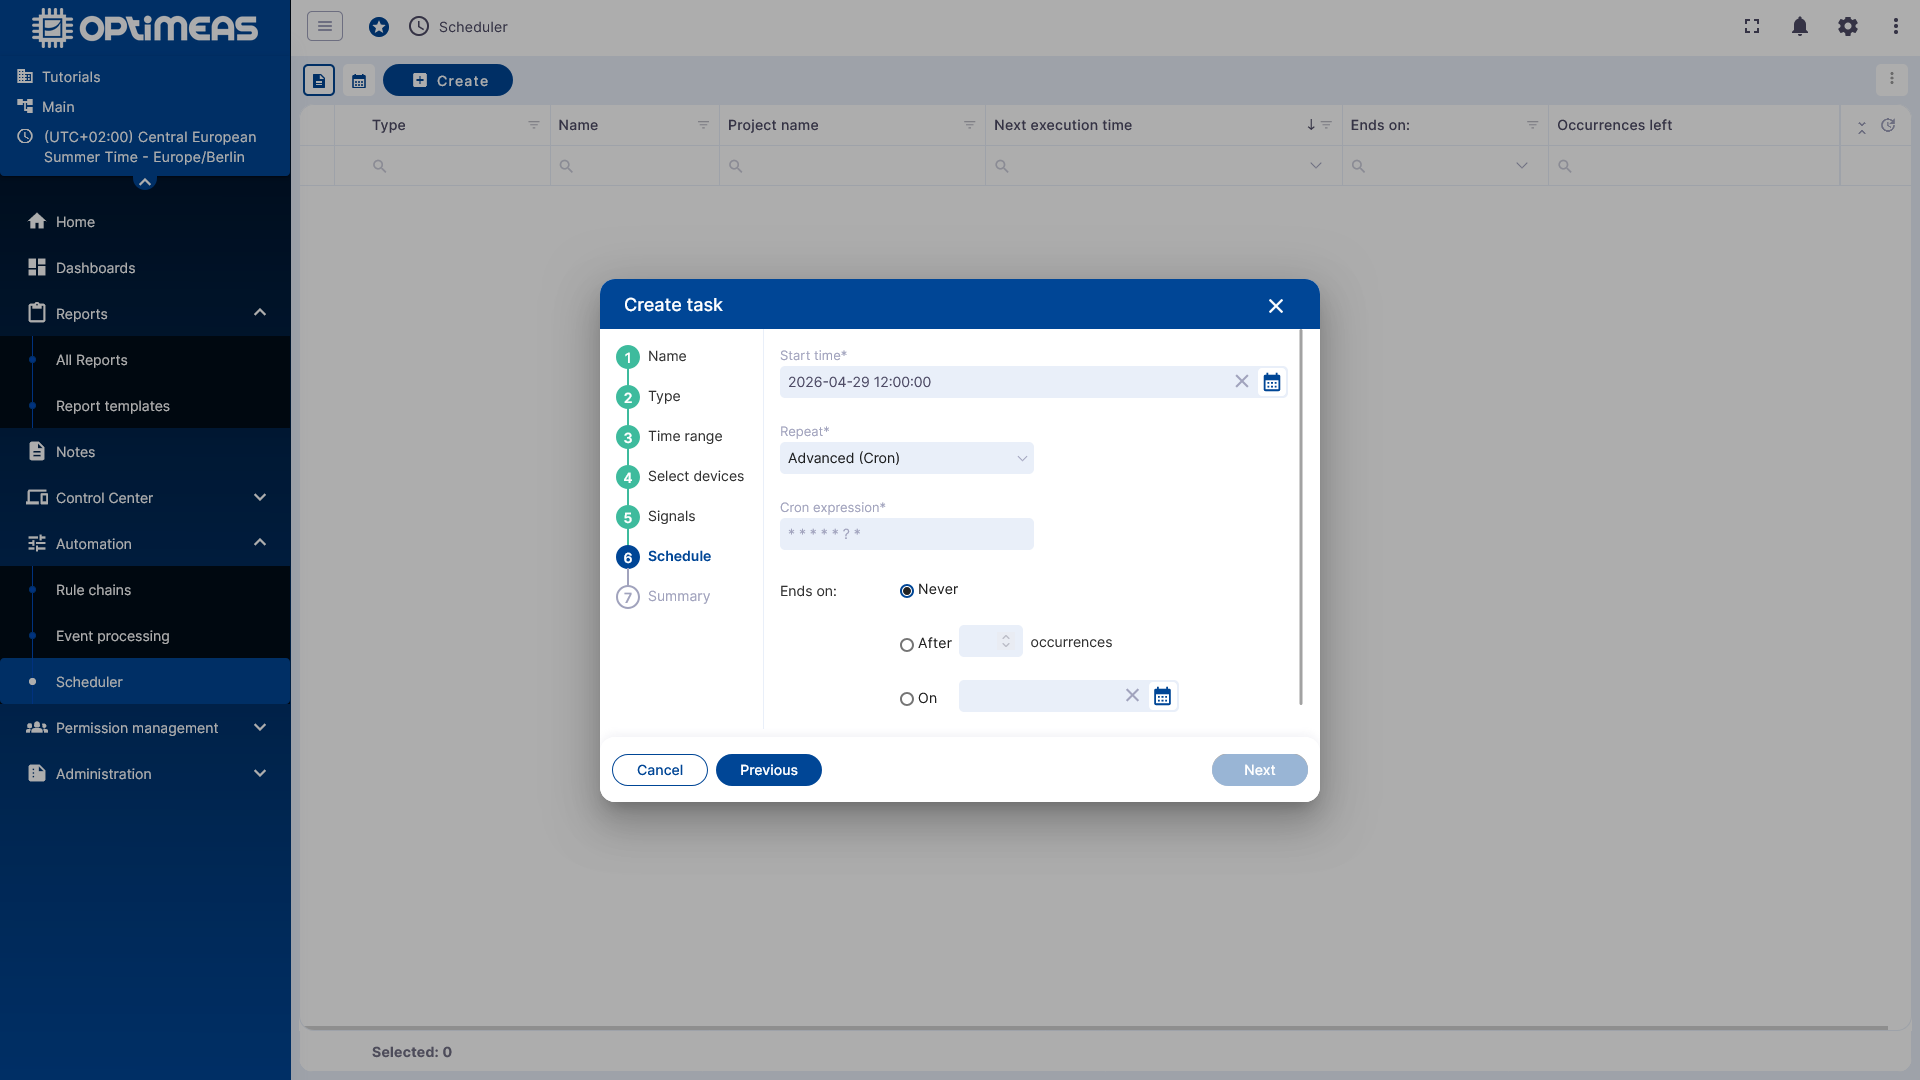
This also allows you to define more specific execution times that go beyond the standard options.
There are many "Cron formatters" available online for creating Cron jobs, such as this one, which can help you create the exact function.
Summary and Saving
Before saving, the wizard displays all settings in a summary.
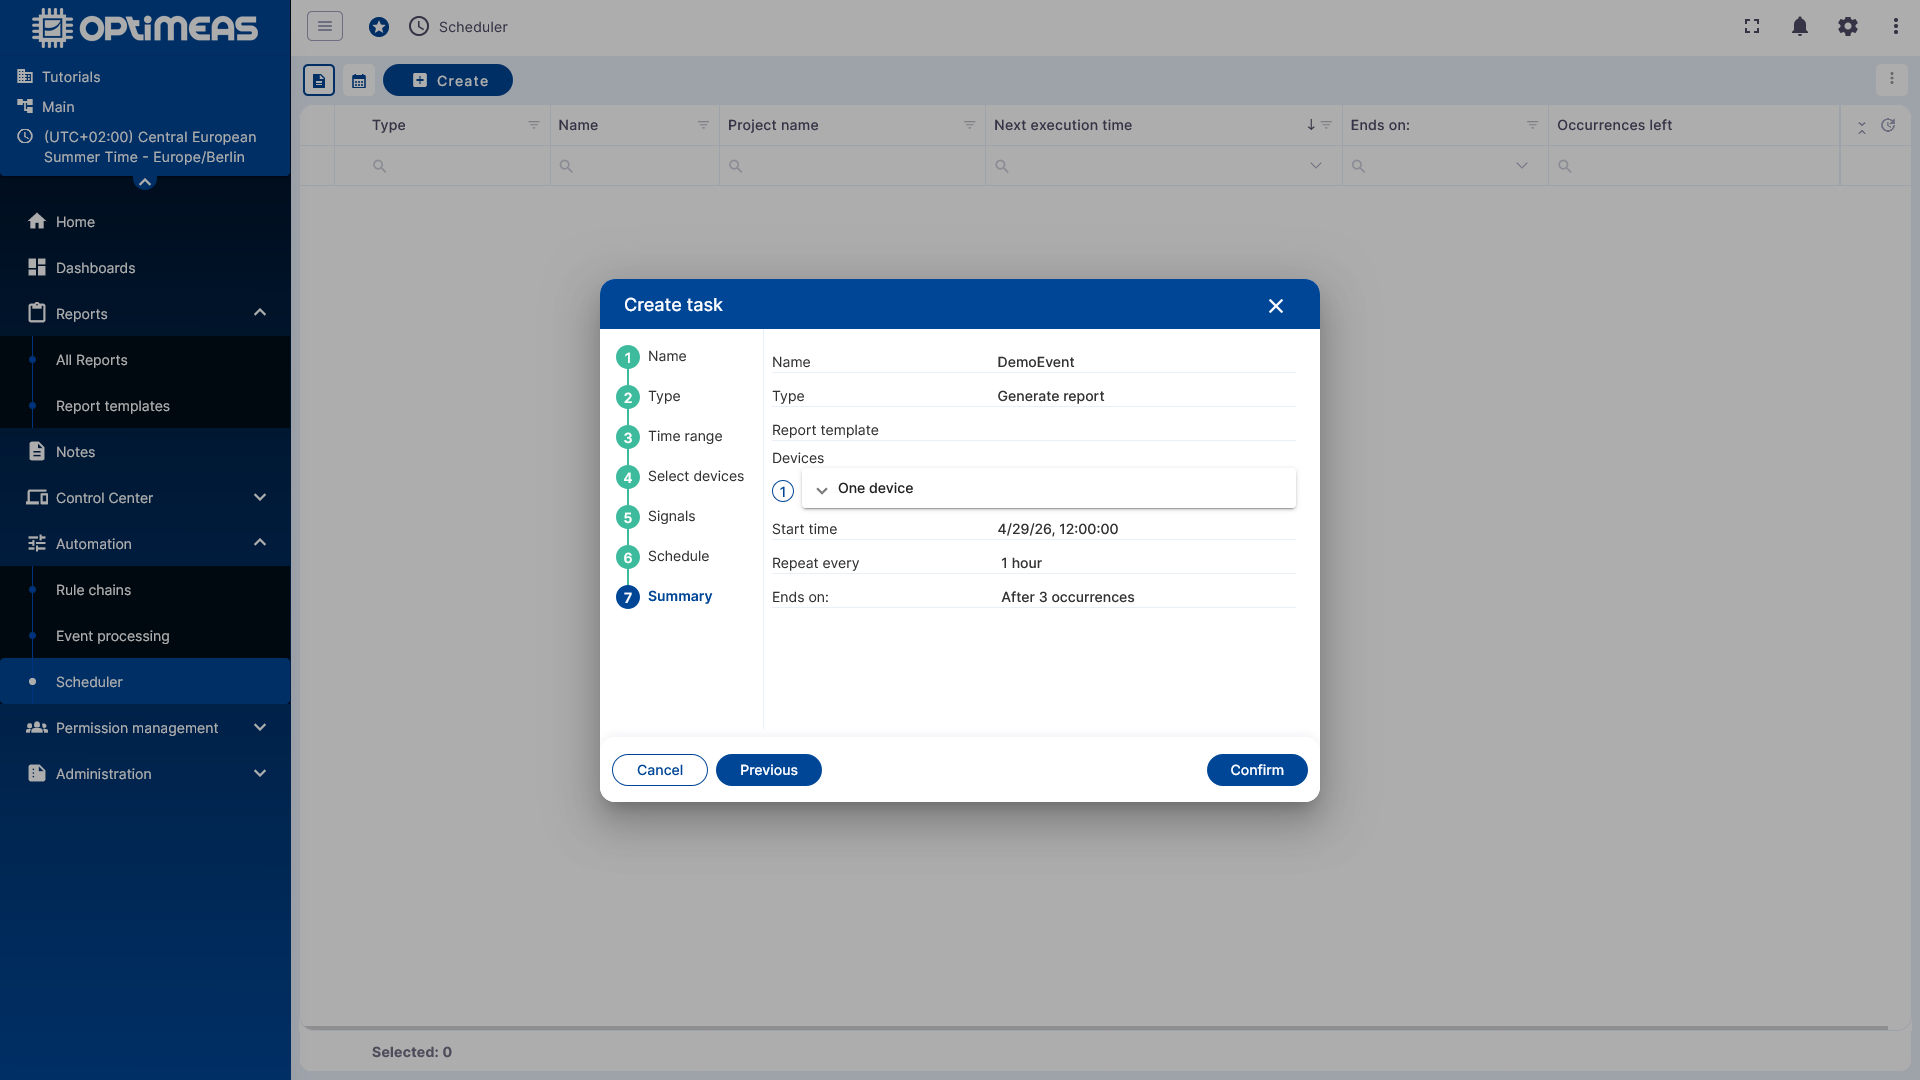
Clicking Confirm creates the scheduled event, which will then run automatically at the defined times.
Result in the table view
After saving, the task appears in the task scheduling table.
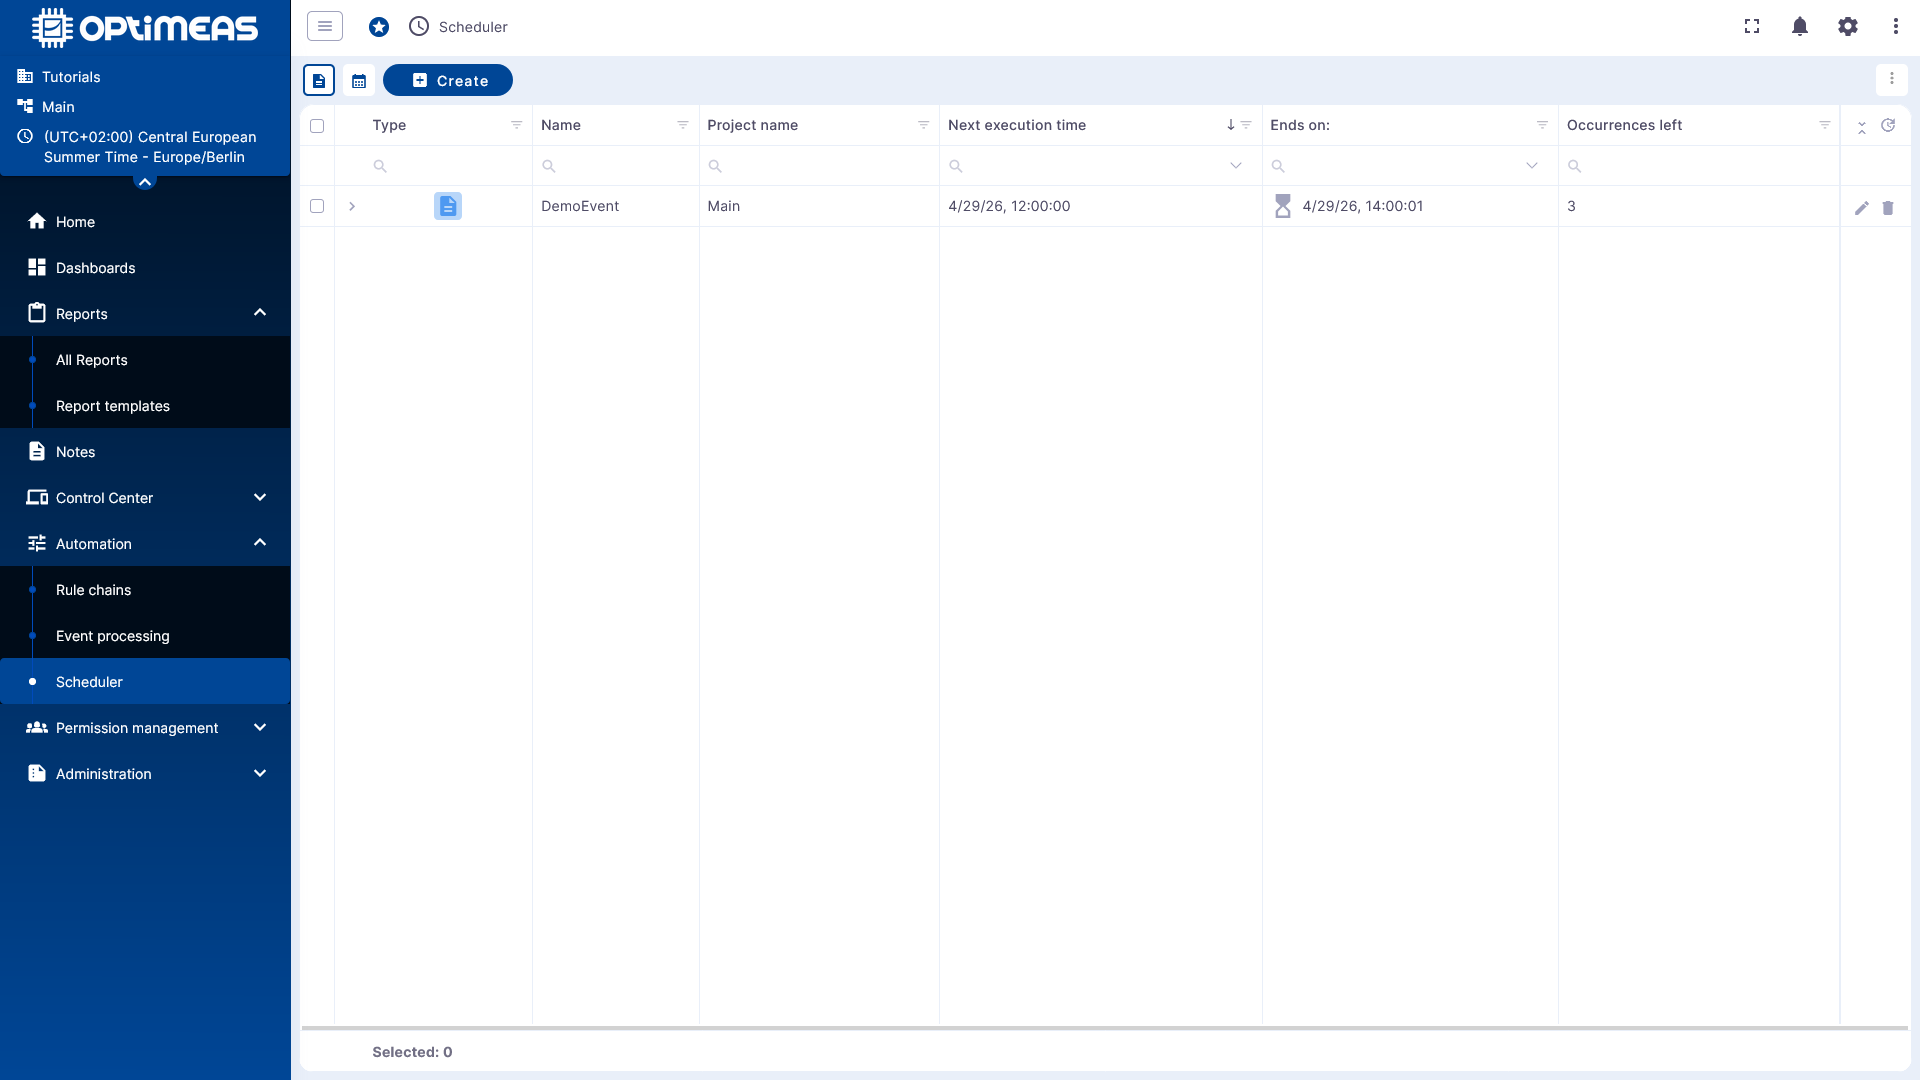
There, the next execution time, the scheduled end time, and the remaining repetitions are immediately visible. Existing tasks can be edited or deleted via the Actions column.
Calendar view
In addition, you can check the scheduled executions in the calendar view.
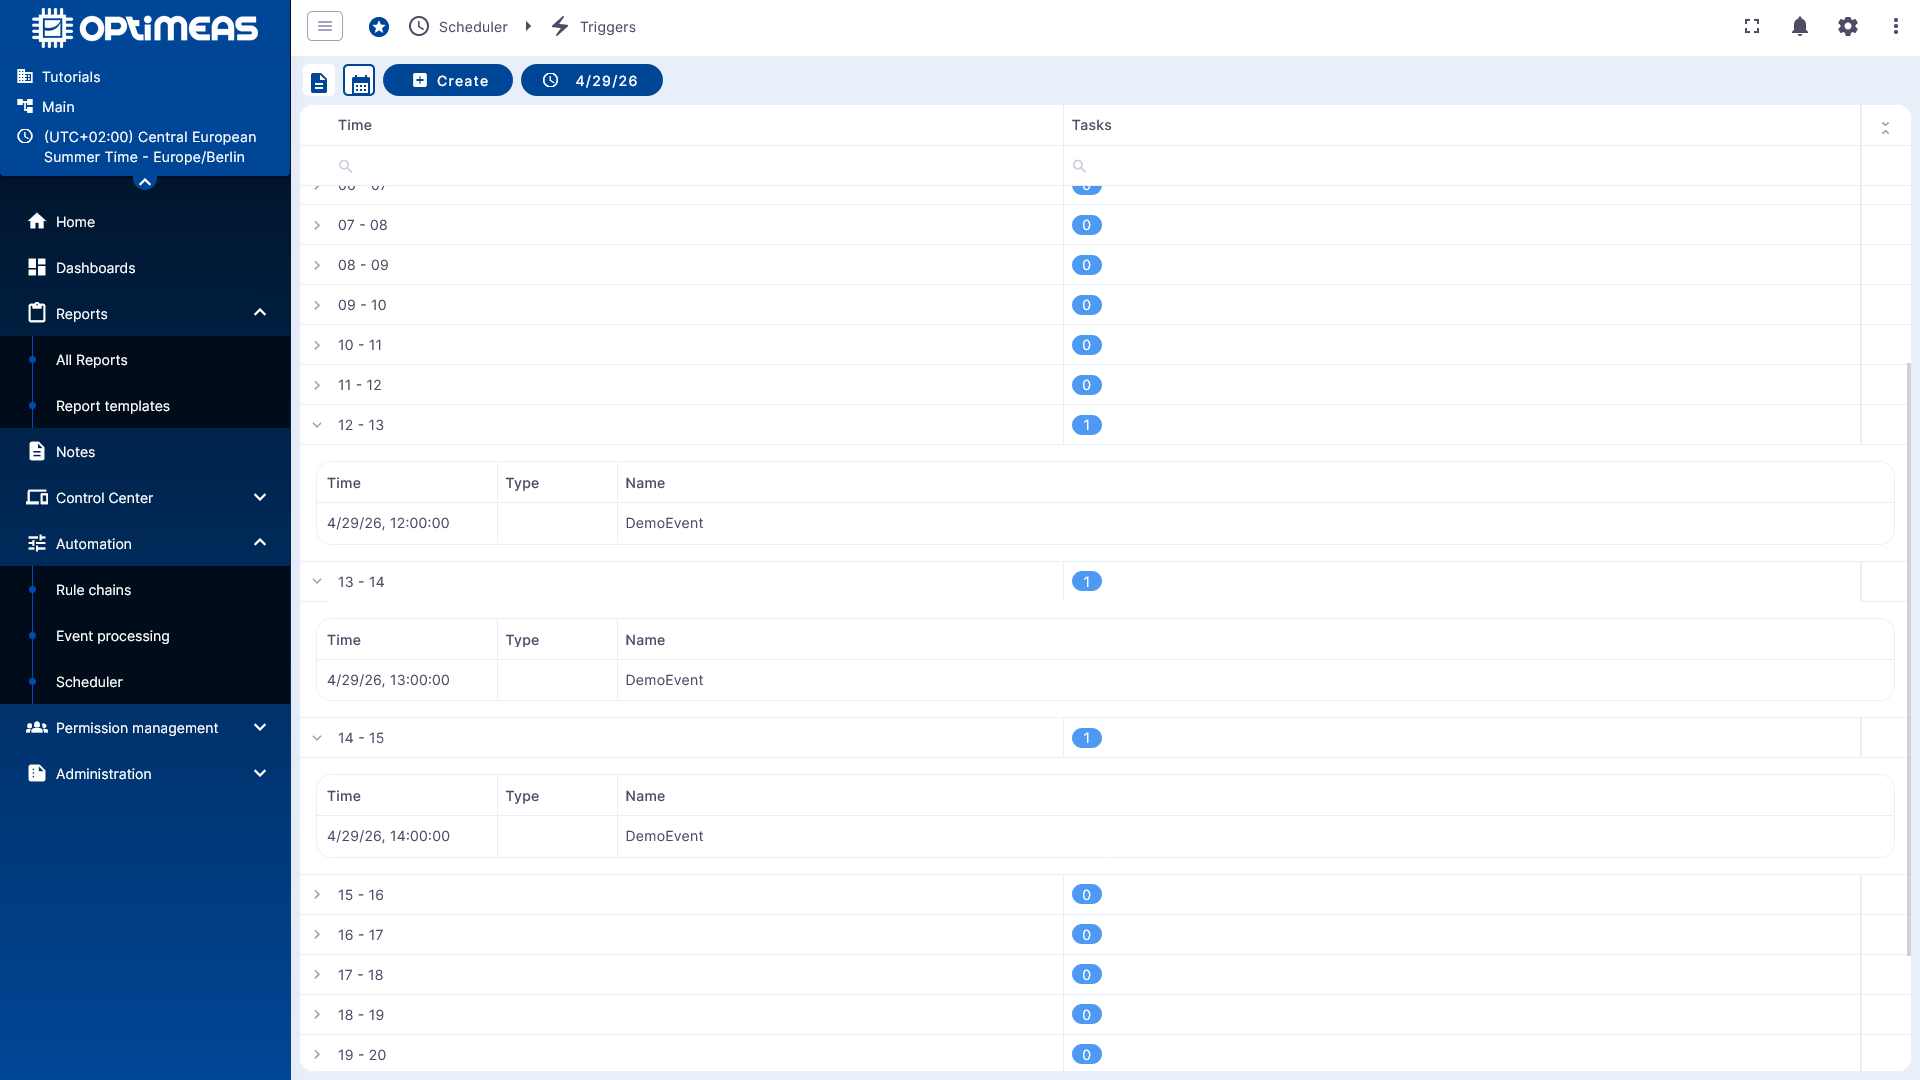
This view is particularly helpful when many tasks are scheduled at the same time and you need to quickly check the time windows in which executions will take place.
Results for Reports
When a report task is executed, the result appears in the Reports section.
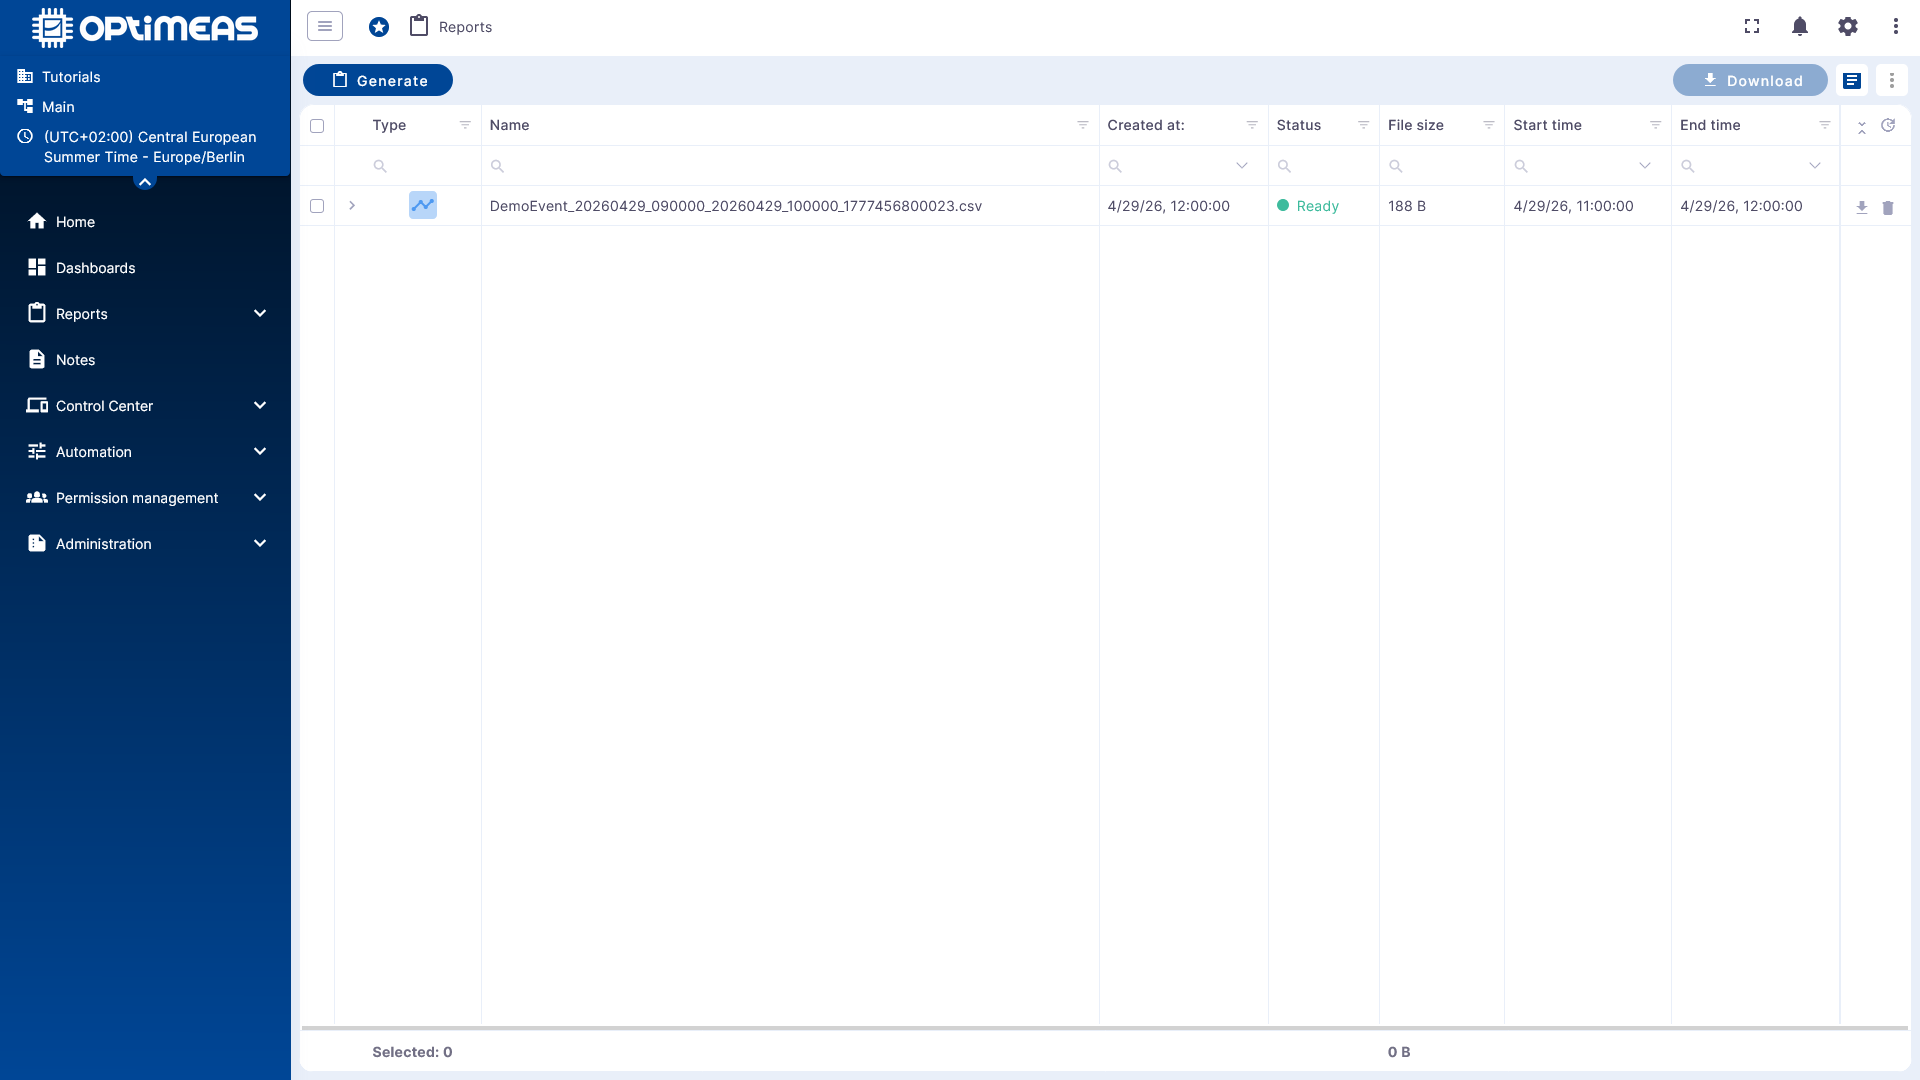
The generated report displays the following information, among other things:
In the case of a telemetry CSV export, the file can then be downloaded from there.
Summary
Task scheduling is the central function for time-controlled automation in optiCLOUD.
It enables:
- one-time tasks at a fixed time
- recurring tasks with a simple interval
- complex schedules via Cron expressions
- automatic execution of reports and prepared rule chains
This allows manual routine tasks to be reliably shifted to the background.